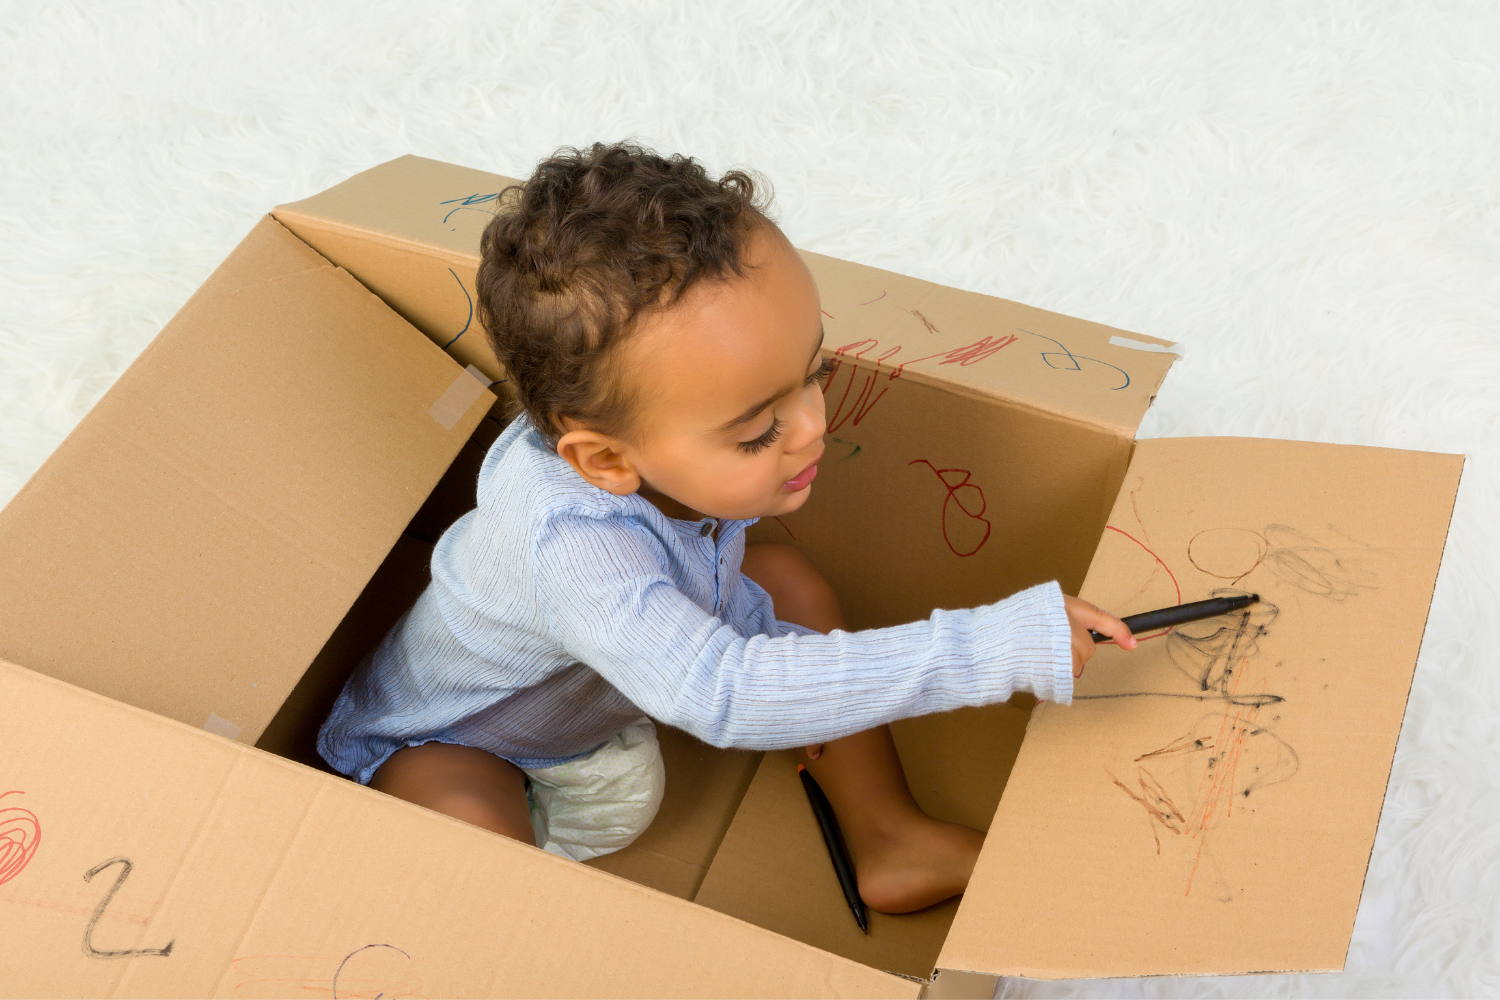
5 Free Activities You Can Do with Your Children in the Fall
/
There's something so satisfying about doing things with your family that doesn't cost a penny!
Simple pleasures in life often trigger the fondest memories when we're grown too.
I barely remember going to Disneyland, even though we visited several times when I was young, but I vividly remember driving up to my grandfather's ranch and the distinct scent of the tarweed as we got closer.
Until today, as soon as I get a few miles within range of the land, I roll down the windows and savor the scent, remembering all the things we used to do up there as kids. All of which cost nothing.
Here are five things you can do with your children that also cost nothing (apart from a few inexpensive supplies), and I bet you they'll remember them!
You can do them more than once to cement those memories too.
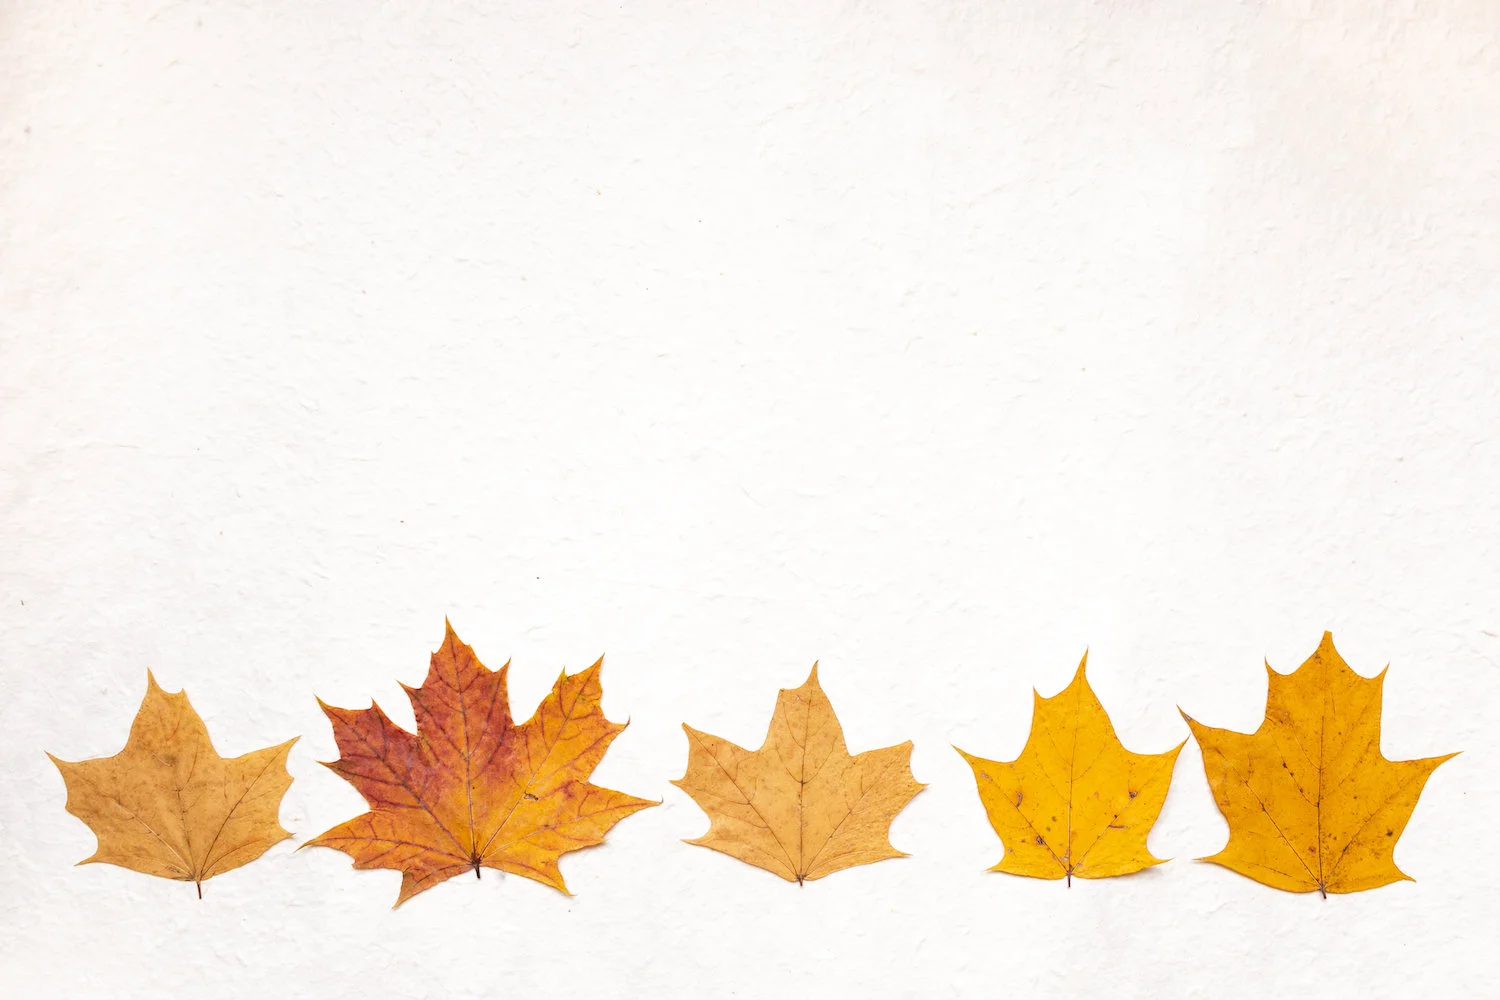
Collecting Fall Leaves
Give each child a basket and take them for a walk someplace with a lot of deciduous trees. Let them collect the prettiest leaves (they will find them all stunning!), and they will put them in 1. their baskets. Get leaves from a variety of trees, not just one kind.
While they're doing this, they'll be examining the leaves, admiring them, kicking them around; they'll be occupying themselves in all sorts of ways.
Let them enjoy the experience of falling leaves until their heart's content or until you need to get home, whichever comes first! When they're finished, you can head home for part two of our activity or save it for another day.
For part two, they should carefully remove the leaves from their baskets.
Get some construction paper and let the children choose the color they like (it does not have to be a fall color). They can then layout their leaves and pick their top 5 - 10 leaves and arrange them nicely on the construction paper.
Give them glue and show them how to glue their favorite leaves to the paper without breaking them.

If you're feeling even more ambitious, or as a project for the following day, you can ask the children what they notice about the leaves that makes them different from one another.
How big or small are they? What are the edges like? What colors are they?
Next, you can pull out your book of trees in your area, and you can help them identify the names of the trees by their leaves.
When they are finished with their projects, hang their work somewhere within sight like the refrigerator or a cork board. The next time you take them for a walk, teach them again to identify the local trees.
The other day I passed by a mom walking with her three-year-old. They had just come out of their apartment, and the boy excitedly pointed his finger to the mountain and said, "Look, there's Mount Diablo!"
The mother was lost in thought and she replied, "No, Mount Diablo's over there." That was the end of the conversation. The boy looked perplexed, and his excitement was gone.
My point is not to find fault with the mother, as we can all get lost in our thoughts, but that children love to learn the names of anything, and they love to name new things when they see them.
With this in mind, your children will learn to identify their local trees, and it will also teach them to be good observers of nature.
2. A Dazzling Array
Put your iron on medium-low (maybe low, it's been a long time!) and while it's heating, get two pieces of waxed paper about 8 x8 or 6 X 6 in size.
Take a box of crayons and let your child pick as many colors as he or she would like.
Peel off the paper wrapping and then using a potato peeler, shave off small bits of the crayons onto the waxed paper until you have a small pile of the various colors.
Arrange the shavings, keeping the shavings within about two inches from the border. Put the other piece of wax paper on top, line up the edges and
iron over them. The crayons will melt and make a color collage that the children will think is beautiful!
3. Celery in a Jar
You probably did this when you were young. I vividly remember doing it in my science class in elementary school, and I was so intrigued by the results.

Take a bottle of blue food dye (blue will stand out the most) and put five drops in a 12-ounce glass of water.
Take the inner bunch of a celery stalk (three or four pieces with leaves) and cut off a 1/4 inch from the bottom, so you have a clean even cut. Place the stalk in the water and stir the dye.
Don't tell the children what to expect. Ask them before what they think will happen.
Every day ask the children to examine the celery and tell you if they notice anything different. After a few days, the dye will begin to travel up the tubes in the celery.
When this happens, ask the children if they know why. They will not give you a scientific explanation, but you may be surprised by their answers.
You can then explain how our blood runs through veins and arteries to keep our bodies healthy. Like our bodies, celery has little tubes that travel up the plant to give it water, so it stays healthy too.
As the celery drinks the blue water, the blue dye will stain the path of the celery tubes.
If your children are old enough, you can explain how osmosis works.
4. Caterpillars.
You need one empty egg carton per two children and colored pipe cleaners that they sell at the art store. Cut off the top of the box and recycle it.
Take the lower portion and turn it upside down. Cut it down the middle and trim the edges.
With a hole puncher, punch one hole per egg on each side. The children can paint the caterpillar any colors they like.
They can do one color for the head, and another color for the body or they can alternate colors or draw designs. Anything they want. Let it dry.
Next, the children will insert the pipe cleaner for legs. Poke two hole in the head and run a pipe cleaner through to make two antennae at the top. Make two eyes using construction paper. They can draw in the mouth.
Talk to them about Caterpillars and how they make cocoons and turn into butterflies.
Here is a Youtube clip of the caterpillar project without the legs.
5. Seeds, Sprouts, and Green Stuff in the Kitchen

Buy some organic herb seeds and show your children how to plant the seeds in their own little pot. Put them on the windowsill in the kitchen.
Ask them to examine their pot carefully each day until they notice something different. Before the seeds sprout, if they need water, show them how to give their plant a little water.
When the seeds sprout, they will be so excited! You can explain to the children the process of how they sprout. When they grow into little plants, you can teach them the parts of a plant.
And when the plant becomes edible, you can explain to your children the importance of green foods in our diets, especially cooking with green herbs.
An herb like cilantro, for example, is an excellent plant for removing toxins from the body. I’m not sure if that’s the best example for a child, but you get the point.
As a parting thought, while projects are fun, it's also important to take your children for walks in nature or just sit quietly in the backyard sometimes and listen. Ask them to be very still and tell you how many sounds they can hear.
With the disconnection from nature, did you know that we're losing the ability to hear different sounds?
Well, I hope you enjoy the projects. Please leave a comment later to let me know how your children like them.
I would especially love to hear anything cute your children say. I'm especially thinking of the celery experiment, as I bet you'll get some unexpected answers from your children!
Don’t miss my free download, Ten Books Every Well-Educated Child Should Read.
To join my upcoming course, How to Prepare Your Child for Genius: The First Seven Years, please join the waiting list to be notified first. The course will begin November 3, 2018.
If you need help with your children before then, you can schedule a one-hour consultation with me (that's usually all you'll need) http://bit.ly/2GJAZEr.